

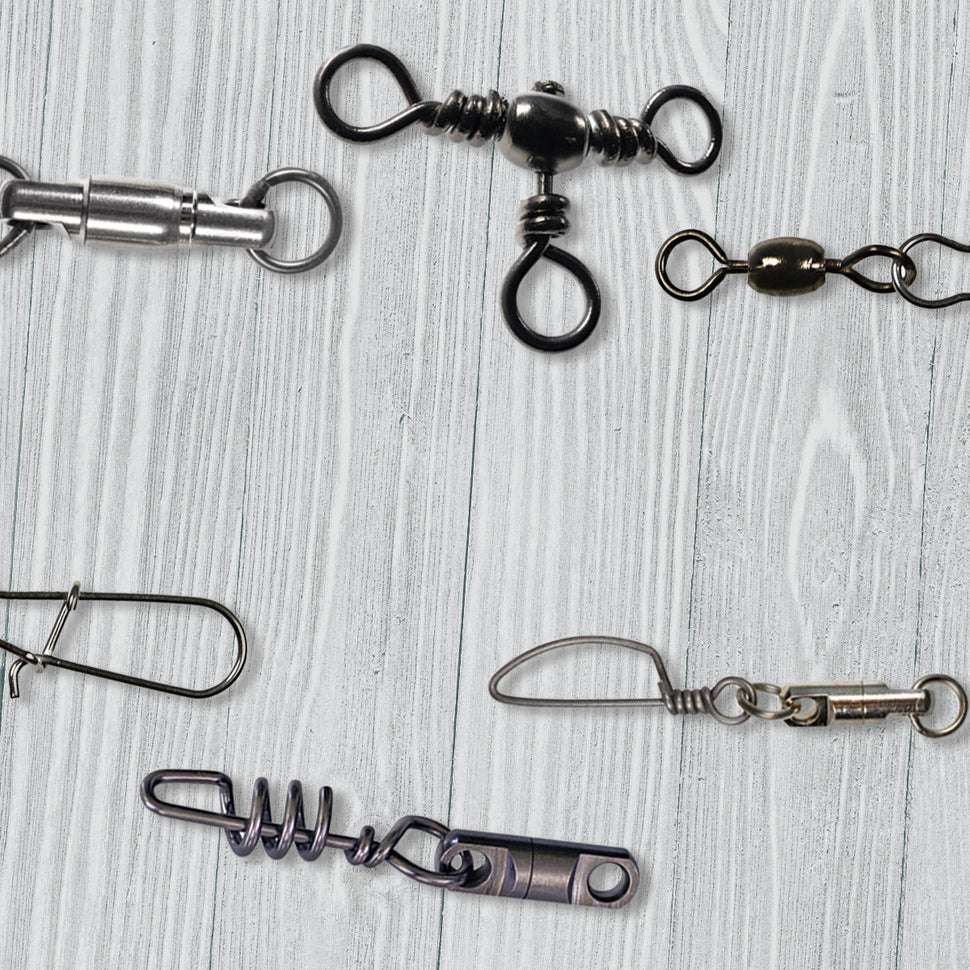
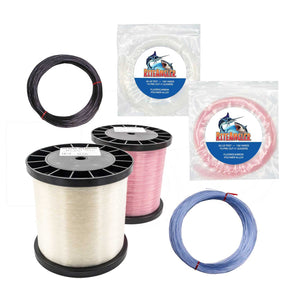
Line & Leader
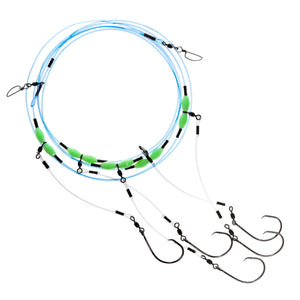
Deep Drop Rigs
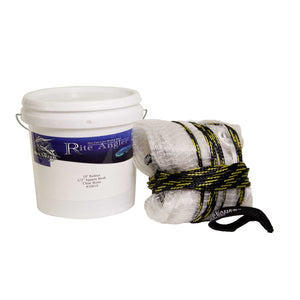
Cast Nets
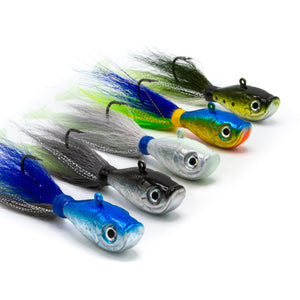
Jiggin' Dippers
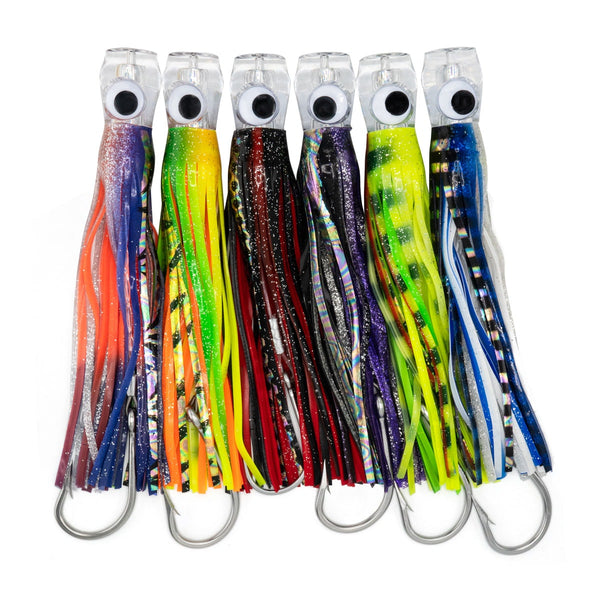
Trolling Lures
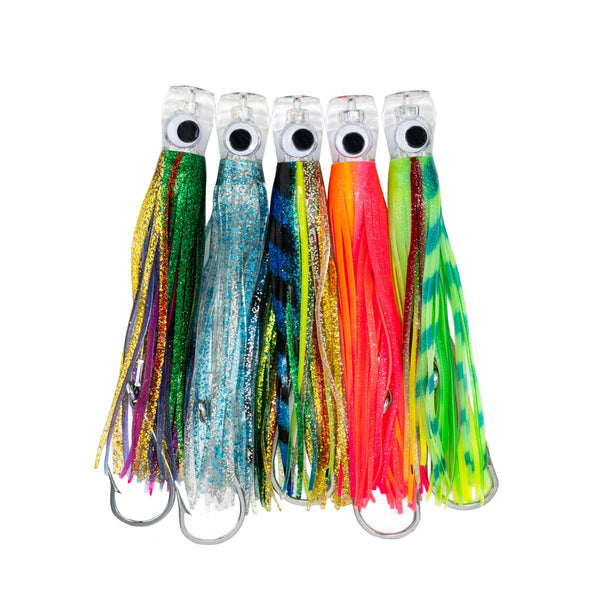
11" Chuggers
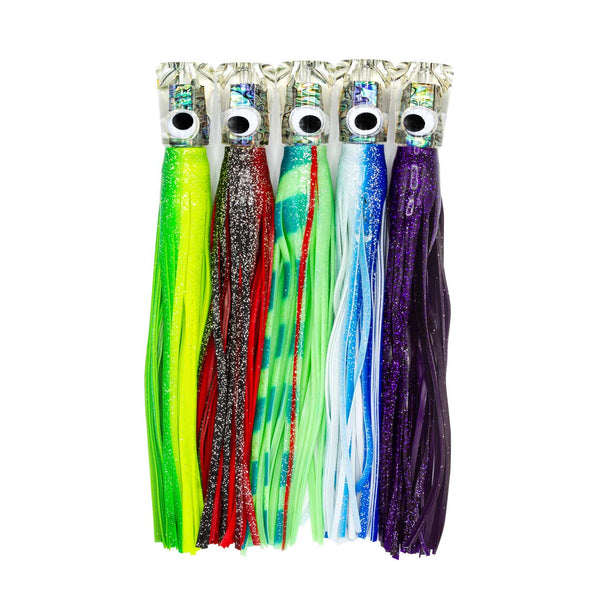
Trolling Lures
11″ Jet Head
Trolling Lures
9″ Chugger Head


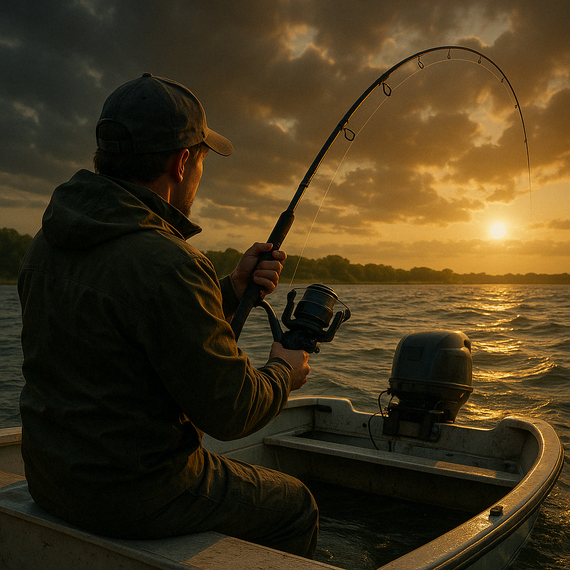
Spring into action with the rite gear for the season.
Spring fishing season is here, and it's the perfect time to gear up for success on the water. This post dives into expert tips for locating transitional spring fish and recommends essential tackle to elevate your angling game. From the ultra-reliable Inline Circle Hook Kit to versatile soft baits and leader lines, Rite Angler has what you need to fish smarter this season. Whether you're after redfish, trout, or largemouth bass, these strategies and products will help you hook into your best catch yet.
Read more

Celebrating 45 Years of Charlie's Worms: The "Big Fish On" Tournament Is Here! 🎣
Celebrating a legacy - Charlie Infinger and Charlie's Worms with a Nationwide Fishing Tournament June the 21st 2025.
Read more
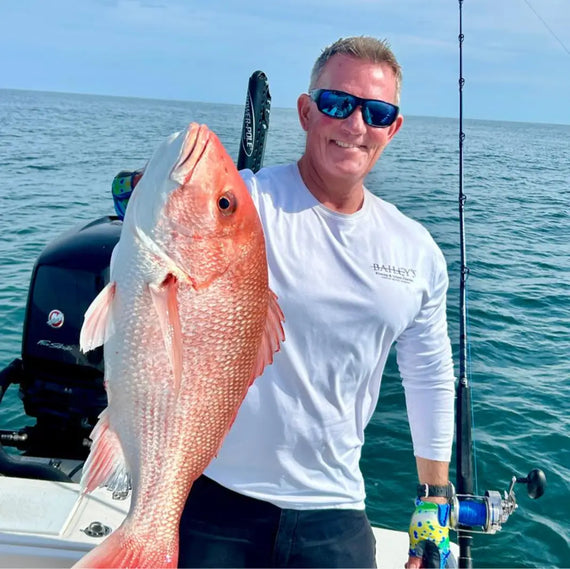
Hot Bites and the Rite Baits to use in Florida!
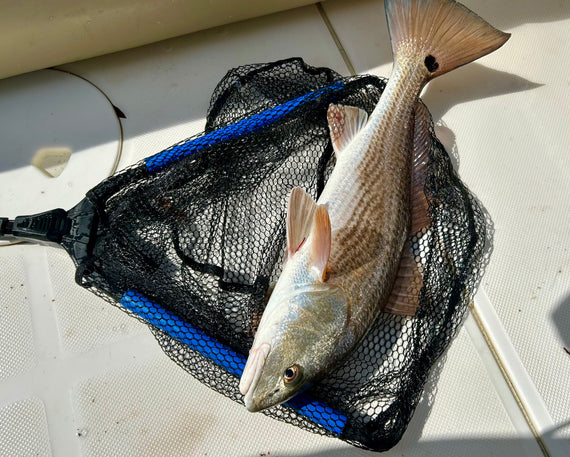
Florida Fishing Report: What’s Biting Now? 🎣
Fishing is on fire across Florida, with big catches happening inshore and offshore! Right now, anglers are landing Vermilion Snapper & Red Grouper in Panama City Beach, Black Seabass & Triggerfish in Jacksonville, Sheepshead & Black Drum in Stuart, and Blackfin Tuna & Cobia in Key West.
To make the most of your time on the water, gear up with the right tools like the Rite Angler Snapper Rig, Lip Grips, and Collapsible Net for better handling, safer catches, and more fish in the boat!
🔥 Shop the best gear at RiteAngler.com and tag us with your catches! #RiteAngler #FishingFlorida #FishOn 🎣🔥
Read more
Winter Fishing Strategies and Lures
Winter Fishing Essentials: Lures, Techniques, and Safety Tips
Winter fishing presents unique challenges, but with the right approach, anglers can still land impressive catches. Fish tend to be less active in cold water, making slow retrieval rates and deepwater targeting essential strategies. Using effective lures like Charlie's Worms Paddle Tail Swim Bait, Rite Angler Bucktail Jigs can increase success by mimicking natural prey.
Additionally, safety precautions such as wearing layered clothing, monitoring weather conditions, and ensuring proper ice thickness for ice fishing are crucial. By utilizing the best lures and adapting techniques, anglers can enjoy a productive and safe winter fishing experience.
Explore Rite Angler and Charlie's Worms for top-quality winter fishing gear to elevate your next trip!
Read more